
Cheaper to salvage 2TB laptop HDD from Seagate portable HDD


As widely discussed since 2014, this trick still works in 2016, which is insane price arbitrage if you ask me.

Bought a 2TB Seagate Expansion Portable HDD for $117. The 2.5" SATA HDD inside, if purchased as a stand-alone unit, costs upwards of $165.


Prying this open requires a thin sturdy Swiss army knife blade (or something equivalent). A guitar pick was not rigid enough to do the job for me.


The way these newer casings are designed, the plastics catches on the end that you start prying are bound to break.


The other end should be OK if you are careful enough.


I didn't need the casing anyway, so I didn't care. But you can always put it together with a little creative application of black electrical tape, so I don't think it's too much of a problem, unless you are really picky about cosmetics.

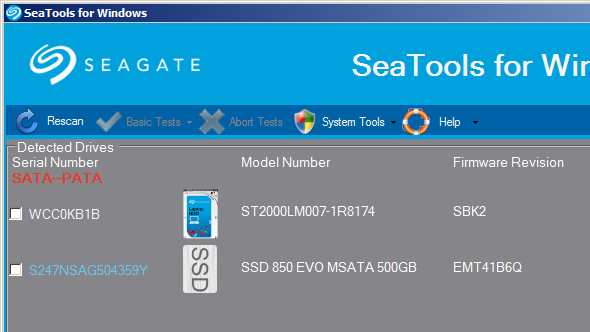
After putting it into my laptop, SeaTools detects the HDD as ST2000LM007. Not much of a surprise here.


Pros:

  • $50 savings for 5 minutes' work
Cons:
  • You can never be 100% sure which brand/model HDD you are getting inside
  • You void the warranty
This approach is not for everyone, but the bang-for-buck ratio is really high for the adventurous to take a dive.

Comments

Popular posts from this blog

Update: Line adapter for Ozito Blade Trimmer

Update (Dec 2021): If you access to a 3D printer, I would now recommend this solution , which makes it super easy to replace the trimmer line. I have been using it for a few months now with zero issue.

Attiny85 timer programming using Timer1

This Arduino sketch uses Timer1 to drive the LED blinker: 1 2 3 4 5 6 7 8 9 10 11 12 13 14 15 16 17 18 19 20 21 22 23 24 25 26 27 28 29 30 31 32 33 34 35 36 37 38 39 40 41 42 43 44 45 46 47 /* * Program ATTiny85 to blink LED connected to PB1 at 1s interval. * Assumes ATTiny85 is running at 1MHz internal clock speed. */ #include <avr/io.h> #include <avr/wdt.h> #include <avr/sleep.h> #include <avr/interrupt.h> bool timer1 = false , led = true ; // Interrupt service routine for timer1 ISR(TIMER1_COMPA_vect) { timer1 = true ; } void setup() { // Setup output pins pinMode( 1 , OUTPUT); digitalWrite( 1 , led); set_sleep_mode(SLEEP_MODE_IDLE); // Setup timer1 to interrupt every second TCCR1 = 0 ; // Stop timer TCNT1 = 0 ; // Zero timer GTCCR = _BV(PSR1); // Reset prescaler OCR1A = 243 ; // T = prescaler / 1MHz = 0.004096s; OCR1A = (1s/T) - 1 = 243 OCR1C = 243 ; // Set to same value to reset timer1 to

Line adapter for Ozito Blade Trimmer

This is an adapter for Ozito 18V battery trimmer (and possibly some Bosch trimmers as well) that uses a plastic blade for cutting. It lets you insert a 2.4mm trimmer line (about 8cm long) and use that for cutting. Simply cut a length of trimmer line and briefly heat up one end with a lighter so that a little bulb is formed. Then insert the trimmer line into the adapter and slot that into the trimmer as per normal. Make sure the trimmer line is not so long that it touches the safety guard. If that is the case, simply trim off any excess with a cutter or scissors. This part is best printed using PETG, which is a tougher and more flexible material. PLA is more rigid and breaks more easily. However, even with PETG, it will still break when it hits something really hard. Since this takes only 0.5m of material and 15 minutes to print, I will usually print a batch of nine at a time at very little cost. The blades that they sell do not break when it hits a hard object, but