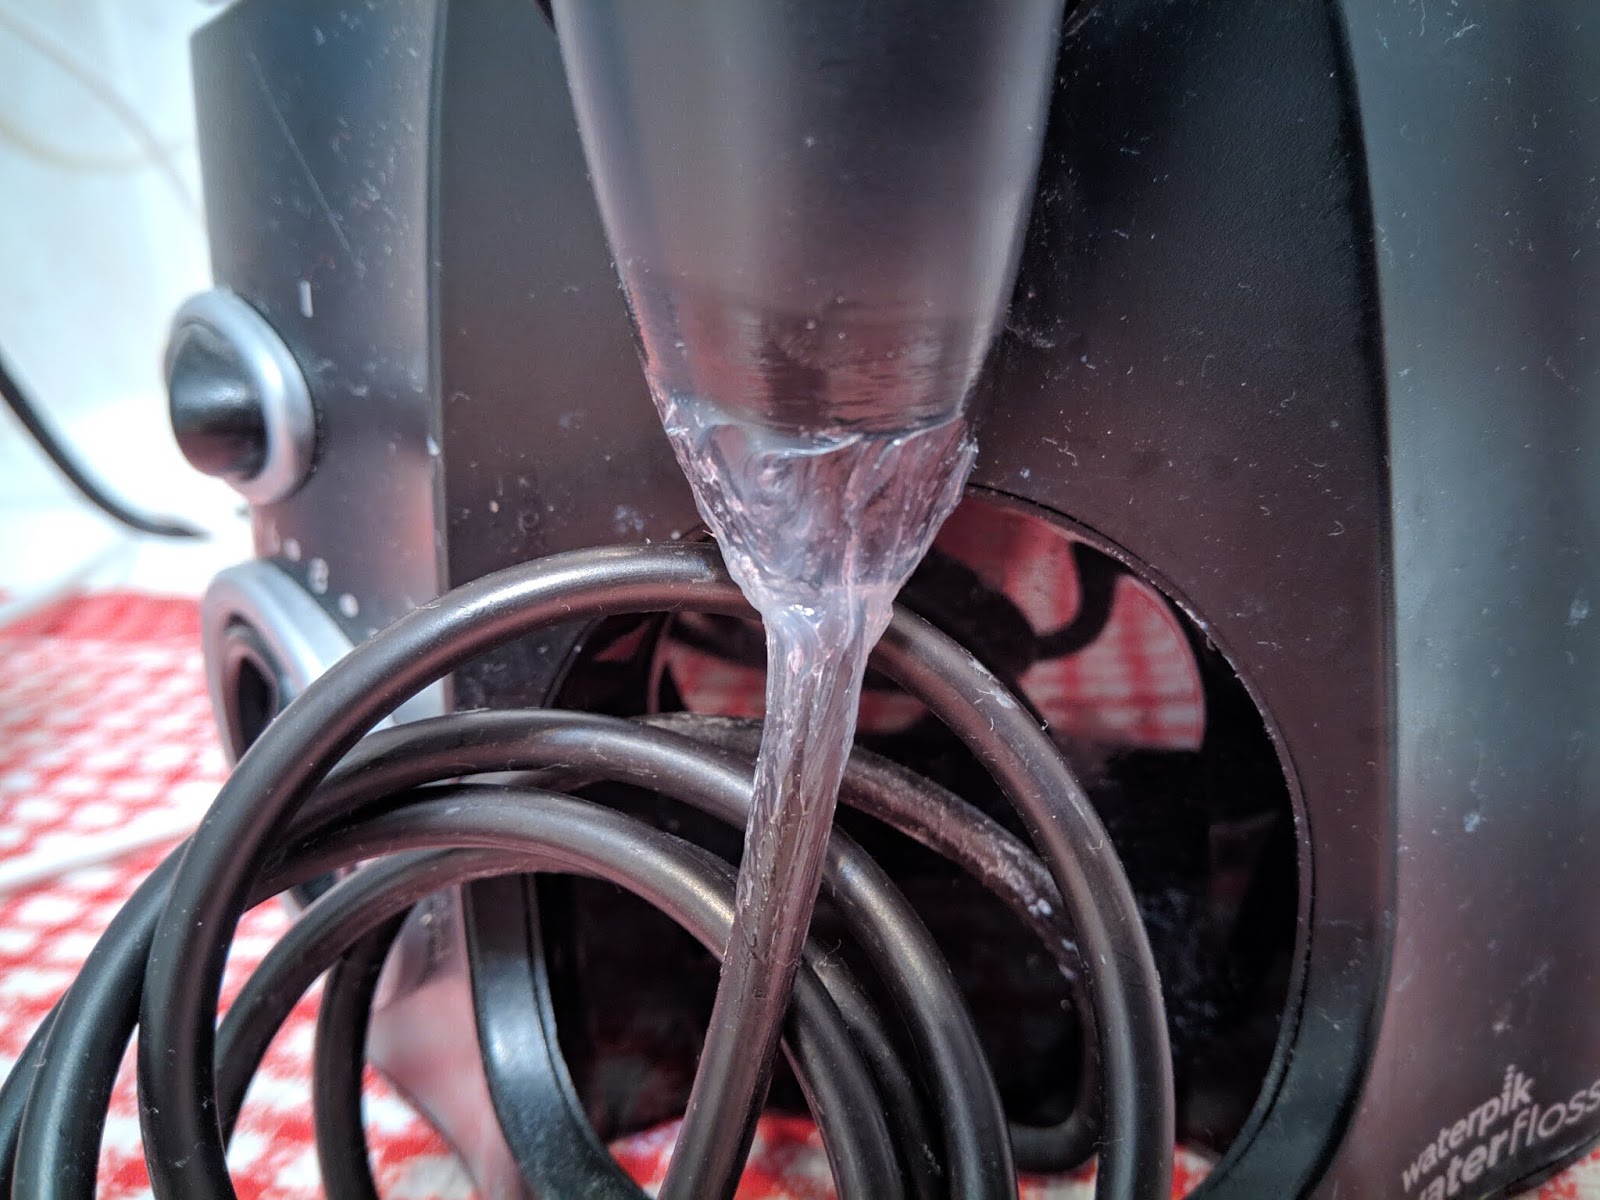
A common complaint about the Waterpik Ultra Water Flosser is the leakage at the bottom of the handle where it connects with the flexible tubing, typically after warranty expiration. Look at the list of 1-star reviews of the product on Amazon, and you will see what I mean.
 Fortunately, if you own some kind of gutter silicone sealant (I always have a tube of Selley's 1-hour Roof and Gutter Speed Seal Silicone lying around the house for small patch jobs), this is easy to fix.. Simply empty the water tank and make sure everything is dry, then mold a generous dab of sealant around the joint area. Then wait a few hours for the sealant to cure, and you are good to go.

In fact, I reckon anyone who owns this product should reinforce the joint with the sealant right from the get-go. Yeah, I wish they had adopted a more durable design in the first place, but having a few kids tugging at the thing every morning and evening, I am surprised it lasted that long (over a year).

In fact, I reckon anyone who owns this product should reinforce the joint with the sealant right from the get-go. Yeah, I wish they had adopted a more durable design in the first place, but having a few kids tugging at the thing every morning and evening, I am surprised it lasted that long (over a year).
Comments
Post a Comment